

1. What is a DocType?
A DocType in ERPNext is the basic building block that defines any document or form in the system. Whenever you open a Customer, Item, Sales Invoice, Purchase Order, or any other record, it exists because there is a DocType behind it. The DocType tells ERPNext what fields are there, what type of data each field holds, and how the document should behave. You can think of it as a template or blueprint for storing and managing business data. Without DocTypes, ERPNext would not know how to display forms, save data, or connect different parts of the system.
2. Why DocTypes are Important
DocTypes are important because they control the structure and flow of almost all business processes inside ERPNext. When they are designed properly, your data stays clean, consistent, and easy to report. DocTypes decide which user can see or edit which information, which validations are applied, and how documents move from draft to approval. They also help link different areas like sales, purchase, stock, and accounts together. In short, a well-planned DocType setup makes ERPNext match your real business, instead of forcing your business to adjust to the software.
3. Types of DocTypes
ERPNext supports different types of DocTypes depending on how you want to store and use information. Some DocTypes are used for master data, like Customer or Item, which you reuse many times in transactions. Some DocTypes are used for transactions, like Sales Order or Purchase Receipt, which represent day-to-day business activities. There are also “Single” DocTypes that store only one record, usually for settings or configuration. Understanding these categories helps you decide which type is best for your requirement.
Example Table – Main Types of DocTypes
| DocType Category | Usage | Examples |
|---|---|---|
| Master | Stores core reference data | Customer, Supplier, Item, Employee |
| Transaction | Represents business activities | Sales Order, Sales Invoice, Purchase Order |
| Single | Stores settings, only one record | Global Defaults, System Settings |
 (Insert Screenshot — SS1: New DocType / Type of DocType Page)
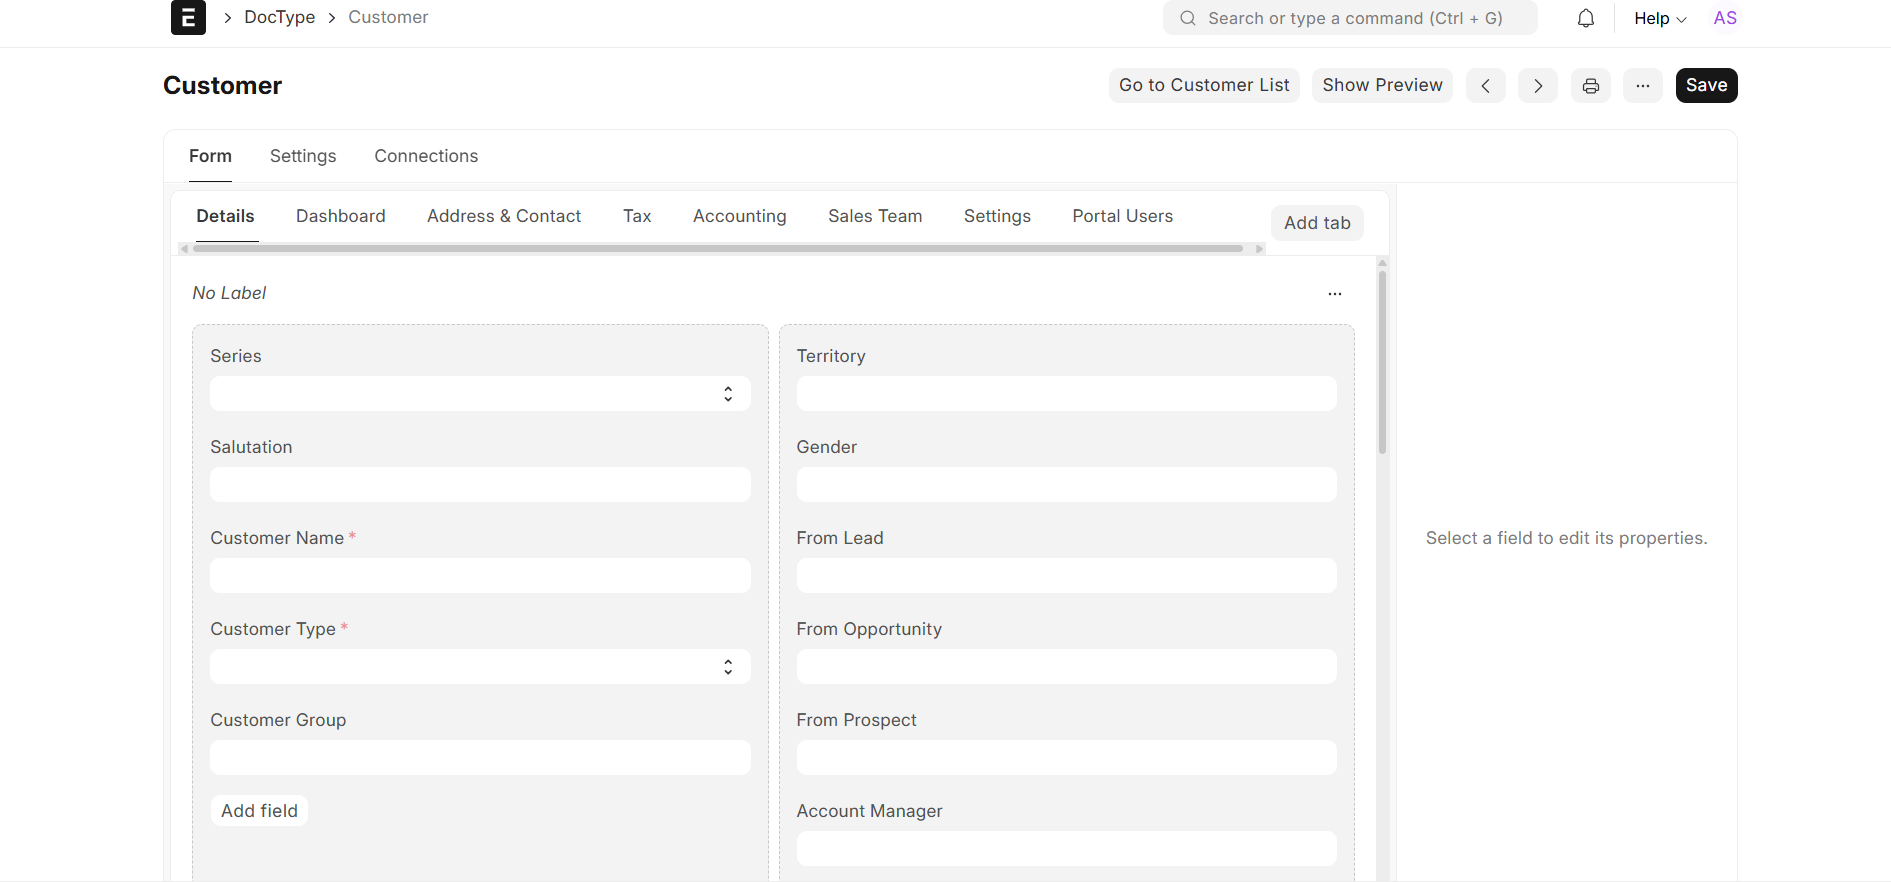
4. Inside a DocType
When you open a DocType in the backend, you will see that it is made up of different sections and options. It has a list of fields that define what information the form will capture, such as customer name, posting date, or quantity. It also has settings for how the form looks, how it is named, whether it can be submitted, and if it supports workflows. There are also areas for permissions, list view, and other advanced features. Seeing all of these together gives a clear picture of how a DocType controls both the data and the user experience.
 (Insert Screenshot — SS2: DocType Form Layout Screen)
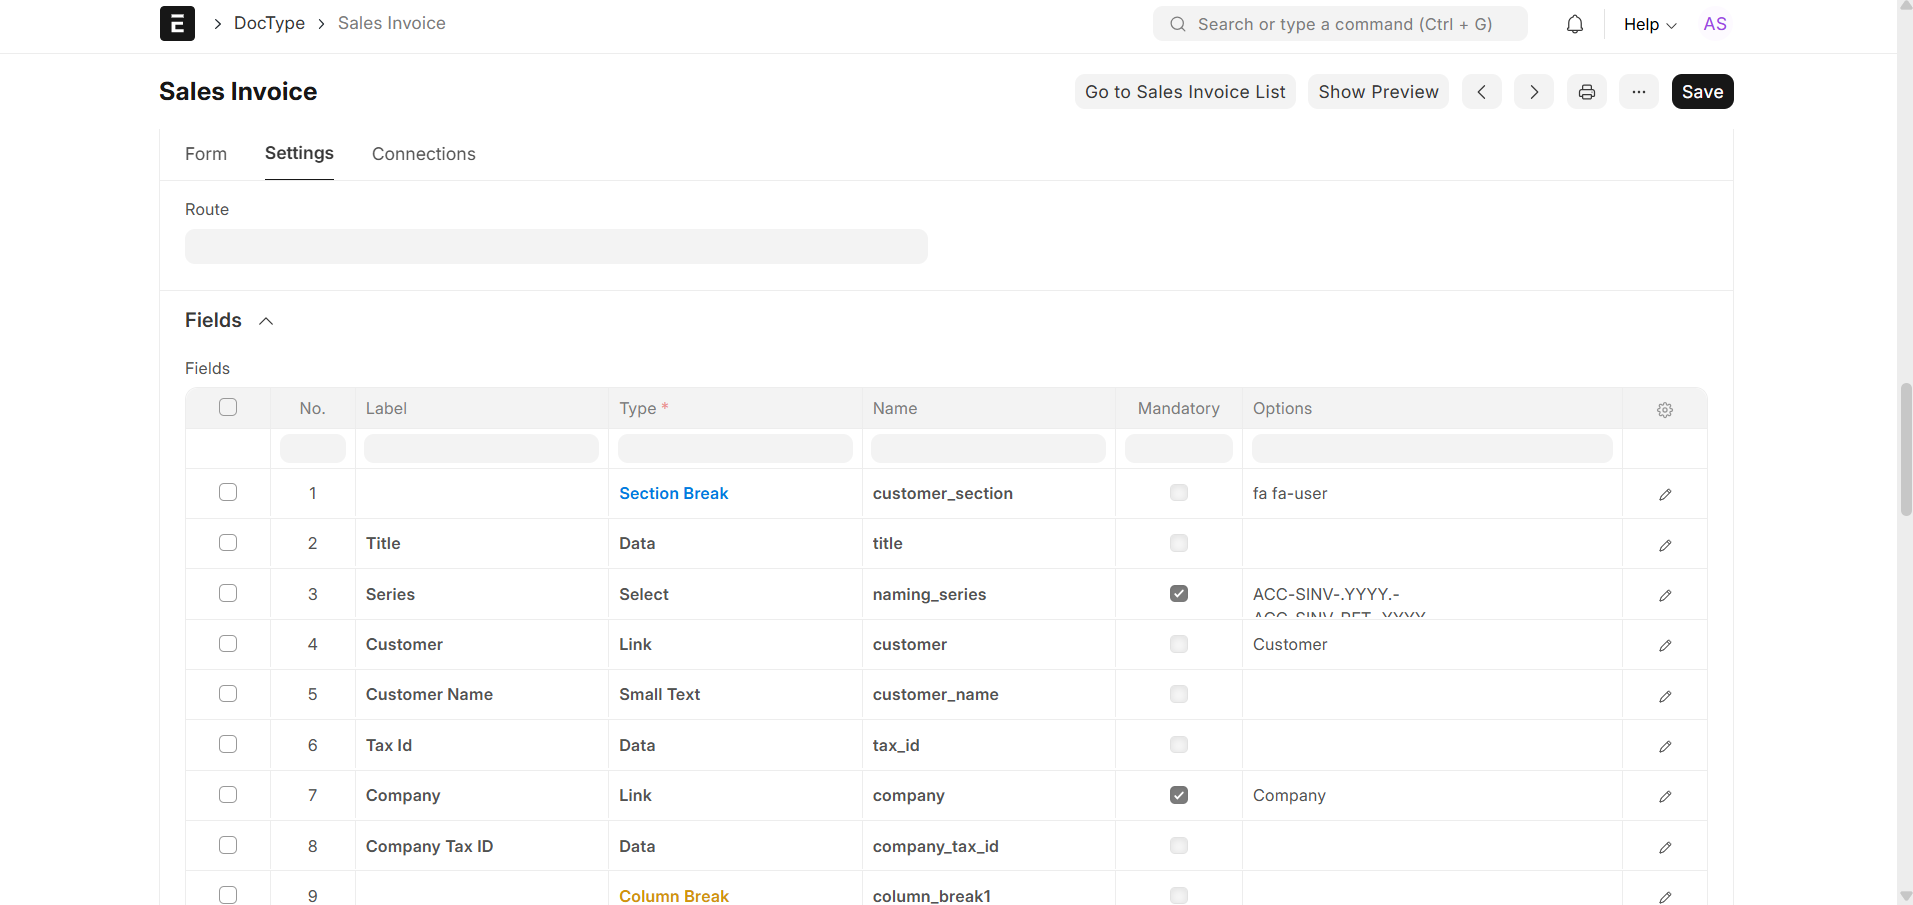
5. How Data Fields Work
Every DocType is built from multiple data fields, and each field has a specific type and purpose. Some fields store simple text, some store numbers, some store dates, and some link to other DocTypes like Customer or Item. There are also table fields that hold multiple rows, and check fields that store yes/no values. Choosing the right type for each field ensures that the system can validate input properly and generate accurate reports. Fields also control how the user sees and enters data on the screen.
Common Field Types (Examples)
| Field Type | Purpose | Example Usage |
|---|---|---|
| Data | Free text values | Customer Name, Short Code |
| Link | Connects to another DocType | Customer in Sales Order |
| Date | Stores date values | Posting Date, Due Date |
| Table | Stores multiple rows | Items in Sales Invoice |
6. Parent & Child Tables
Many business documents need to store multiple lines of related information under one main record. For example, a Sales Invoice has one customer at the top but multiple item rows. In ERPNext, this is handled by a parent–child relationship between DocTypes. The main document is the parent, and the table rows are stored in a child DocType. This structure keeps the data organized and scalable. It also allows the system to handle many rows without making the main form too heavy.
Example – Items in a Sales Invoice
| Item Code | Description | Qty | Rate |
|---|---|---|---|
| ITEM-001 | Product A | 5 | 200 |
| ITEM-002 | Product B | 2 | 300 |
7. Creating a New DocType
ERPNext allows you to create your own DocTypes when you need a custom form or process. This is useful when your business has a unique requirement that is not covered by standard modules. To create a new DocType, you define its name, choose a module, decide how documents will be named, and add all the fields you need. You can also set whether the DocType should be submittable, whether it supports attachments, and if it should appear in the desk sidebar. Once created, this new DocType behaves just like any other form in the system.
Steps to Create a New DocType
- Go to Developer → DocType (with developer mode enabled).
- Click New to create a fresh DocType.
- Enter the DocType name and select the module where it belongs.
- Add the required fields and set basic options like naming.
- Save the DocType and reload to start using it.
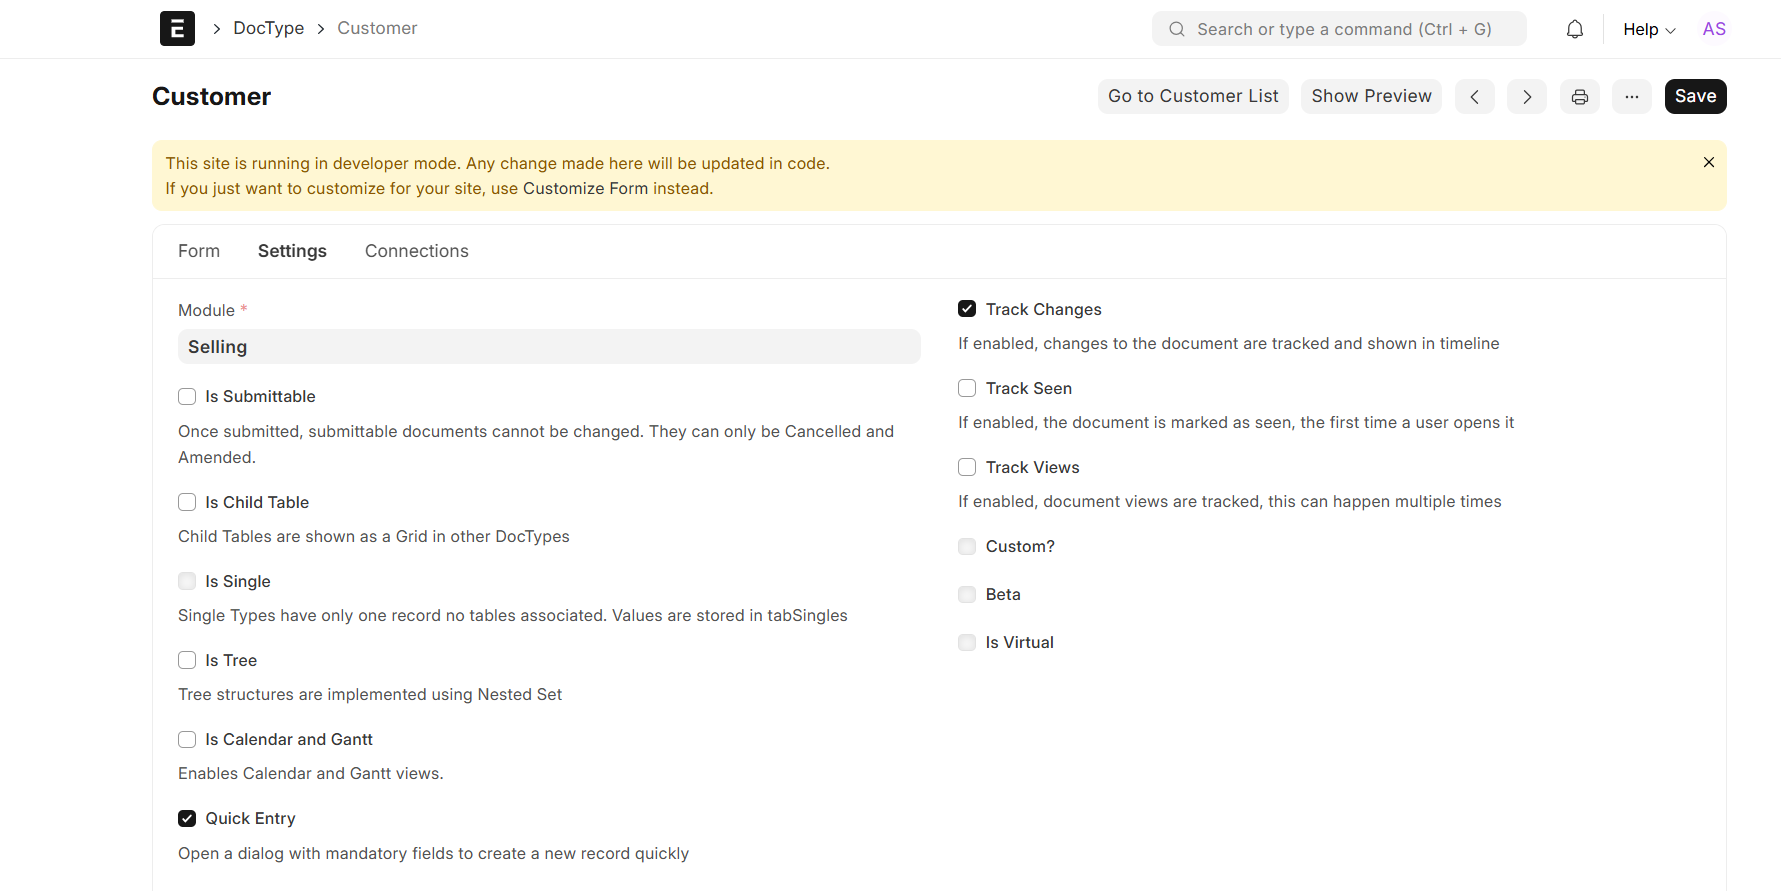
8. DocType Settings Page
The DocType settings page is where you control general behavior of the document. Here you can define how the document is named, whether it can be submitted and cancelled, and if it is allowed in reports or email templates. You can also specify whether it should appear in the desktop sidebar or be hidden, and whether it supports numbering series. These settings make a big difference in how users interact with the DocType and how it fits into daily operations. Adjusting them properly makes your system feel more natural and easy to use.
Key Settings You Commonly Adjust
- Is Submittable (whether the document has draft and submitted states).
- Autoname / Naming Series (how document numbers are generated).
- Track Changes (to keep history of updates).
- Allow Attachments or Comments on the document.
 (Insert Screenshot — SS3: DocType Settings Page)
9. DocType List View
The list view controls how records of a DocType appear when you open its list page. In ERPNext, you can choose which fields show as columns, such as name, status, date, and total amount. You can also decide the default sort order and set filters to show only relevant records. A good list view makes it easy for users to quickly find and review data without opening each document. This is important for DocTypes that have many records, like Sales Invoices or Tasks.
Example – List View Columns
- Document Name / Number
- Customer or Supplier
- Posting Date
- Status (Draft, Submitted, Cancelled)
- Total Amount or Priority
 (Insert Screenshot — SS4: DocType List View Page)
10. DocType Permissions
Permissions decide which users can read, create, edit, submit, or cancel documents for a specific DocType. ERPNext uses role-based permissions, where you assign roles like “Sales User” or “Accounts Manager” and then set what each role can do. This helps protect sensitive information and ensures that only the right people can approve or modify important records. Proper permission settings are critical for audit control and secure operations.
Sample Permission Table
| Role | Read | Write | Submit | Cancel |
|---|---|---|---|---|
| Sales User | ✔️ | ✔️ | ❌ | ❌ |
| Sales Manager | ✔️ | ✔️ | ✔️ | ✔️ |
11. DocType Workflows
Some documents need to follow a clear approval path before they are finalized. DocType workflows allow you to define such paths in ERPNext. A workflow describes how a document moves between states like Draft, Under Review, and Approved. For each state and transition, you can specify which role is allowed to perform the action. This keeps the approval process transparent and controlled, especially for documents like Purchase Order, Leave Application, or Expense Claim.
Simple Workflow Example
Basic Steps to Create a Workflow
- Open Workflow list and click New.
- Select the DocType you want to control with a workflow.
- Define the workflow states (for example: Draft, Review, Approved).
- Set transitions between states and assign allowed roles.
- Save the workflow and test it with sample documents.
12. Validations
Validations are rules that check whether the data in a document is correct before it is saved or submitted. ERPNext supports built-in validations, like mandatory fields and field type checks, as well as custom validations using scripts. For example, you might require that the quantity is greater than zero, or that the posting date cannot be in the future. These checks help avoid mistakes and keep your database accurate. They are especially useful for financial, stock, and compliance-related documents.
Example Validation Logic
13. Reports from DocTypes
One of the big advantages of using DocTypes is that you can easily generate reports from the data they store. ERPNext provides built-in reports for many standard DocTypes, and it also allows you to build custom reports. You can group, filter, and total data to answer business questions like “Which customers bought the most?” or “Which items are low in stock?”. Reports can be exported to Excel or used directly inside the system for analysis. This turns raw DocType records into useful business information.
Common Report Styles
- List reports with filters and sorting.
- Summary reports grouped by customer or item.
- Pivot-style views for comparing multiple dimensions.
- Charts and graphs for visual trends.
14. Linking DocTypes
In most real business cases, documents do not stand alone. A quotation leads to a sales order, which leads to a delivery note and then to a sales invoice. ERPNext manages this by linking DocTypes using Link fields and built-in document mapping. This linking allows you to trace a full chain of documents from start to finish. It also reduces duplicate data entry because information flows from one step to the next automatically.
Example – Linked Sales Flow
| Step | DocType | Purpose |
|---|---|---|
| 1 | Quotation | Send price and terms to customer |
| 2 | Sales Order | Confirm customer order |
| 3 | Delivery Note | Record goods delivered |
| 4 | Sales Invoice | Bill the customer |
15. Best Practices
Designing and managing DocTypes carefully will make your ERPNext system stable and easy to use. Always start by understanding the real business process, then design your DocTypes to match that flow. Keep field names and labels clear so users understand what to enter. Avoid creating too many unnecessary custom fields or DocTypes, because they can make the system harder to maintain. Make sure permissions, workflows, and validations are tested with real scenarios before going live. With these best practices, DocTypes will become a powerful tool to support your organization.
Simple Design Checklist
- Plan the process before creating the DocType.
- Use correct field types for each piece of data.
- Keep labels simple and meaningful for users.
- Set correct permissions and test them.
- Review and clean up unused fields over time.
No comments yet. Login to start a new discussion Start a new discussion